Intro
Recently, as I’ve been enjoying AI-based development, I’ve become even more aware of the importance of testing environments.
The most representative method would be building CI using GitHub Actions, but in MLOps, high-spec instances are often needed for CI.
Of course, there are GPU instances (Linux 4 cores) provided by GitHub Actions, but they are set at a very expensive rate of $0.07 per minute as of now, making them burdensome to use.
The GPU type is also limited to Nvidia T4 GPU, which has performance constraints as model sizes continue to grow.
In this situation, self-hosted runners exist as an alternative.
Literally, it’s a method of setting up runners directly and executing GitHub workflows on those runners.
This method can be set up through GitHub’s Adding self-hosted runners guide.
However, this method has the problem of needing to keep CI machines always on (online status). It can be inefficient when CI/CD tasks occur rarely.
Against this background, Actions Runner Controller (ARC) emerges as an excellent alternative.
Actions Runner Controller is an open source that controls GitHub Actions runners to operate in Kubernetes environments.
Using this, you can test CI using your own Kubernetes resources only when GitHub Actions workflows are executed.
Installing Actions Runner Controller
The ARC installation process is divided into two main steps:
- Creating a GitHub Personal Access Token for communication and authentication with GitHub
- Installing ARC using Helm and authenticating with the created token
1. Creating GitHub Personal Access Token
ARC needs authentication to interact with GitHub API and register and manage runners. For this, we create a GitHub Personal Access Token (PAT).
- Path:
Settings>Developer settings>Personal access tokens>Tokens (classic)>Generate new token
When creating a Personal Access Token, you need to select appropriate permissions. (For convenience, grant full permissions)
For security, it’s recommended to set minimum permissions and key expiration period.
It seems that GitHub App authentication is recommended over Personal Access Token (PAT) method.
Keep the created Personal Access Token safe as it will be needed when installing ARC in the next step.
2. Installing ARC with Helm
Before installing ARC, cert-manager is required. If cert-manager is not set up in the cluster, install it.
kubectl apply -f https://github.com/cert-manager/cert-manager/releases/download/v1.8.2/cert-manager.yaml
Now it’s time to install ARC to the Kubernetes cluster using Helm.
Install ARC using the Personal Access Token created earlier. In the command below, change the YOUR_GITHUB_TOKEN value to the PAT value you created earlier.
helm repo add actions-runner-controller https://actions-runner-controller.github.io/actions-runner-controller

helm repo update

helm pull actions-runner-controller/actions-runner-controller

tar -zxvf actions-runner-controller-*.tgz

export GITHUB_TOKEN=YOUR_GITHUB_TOKEN

helm upgrade --install actions-runner-controller ./actions-runner-controller \
  --namespace actions-runner-system \
  --create-namespace \
  --set authSecret.create=true \
  --set authSecret.github_token="${GITHUB_TOKEN}"
After installation is complete, check if the ARC controller is running normally with the following command:
kubectl get pods -n actions-runner-system
If the above command executes successfully, you can confirm that the ARC controller manager pod is running in the actions-runner-system namespace.
Now ARC is ready to communicate with GitHub! The next step is to define the runners that will actually execute the workflows.
3. Setting up Runners
We’ve installed the ARC controller, but there are no runners yet to execute workflows. Now we need to create runner pods according to GitHub Actions workflow jobs.
For this, we use two types of resources:
RunnerDeployment: Serves as a template for runner pods. It defines what container image to use, which GitHub repository to connect to, what labels to have, etc.HorizontalRunnerAutoscaler(HRA): Observes theRunnerDeploymentand automatically adjusts the number of replicas of theRunnerDeploymentbased on the number of queued jobs on GitHub.
Defining RunnerDeployment
First, create a file named runner-deployment.yml as shown below. Change the spec.template.spec.repository value to your GitHub repository name.
You can specify not only repository but also organization if you have permissions.
apiVersion: actions.summerwind.dev/v1alpha1
kind: RunnerDeployment
metadata:
  name: example-runner-deployment
  namespace: actions-runner-system
spec:
  replicas: 1
  template:
    spec:
      repository: <YOUR_NAME>/<YOUR_REPO_NAME>
      labels:
        - self-hosted
        - arc-runner
With this configuration, you can check the GitHub Repo Actions self-hosted runner.
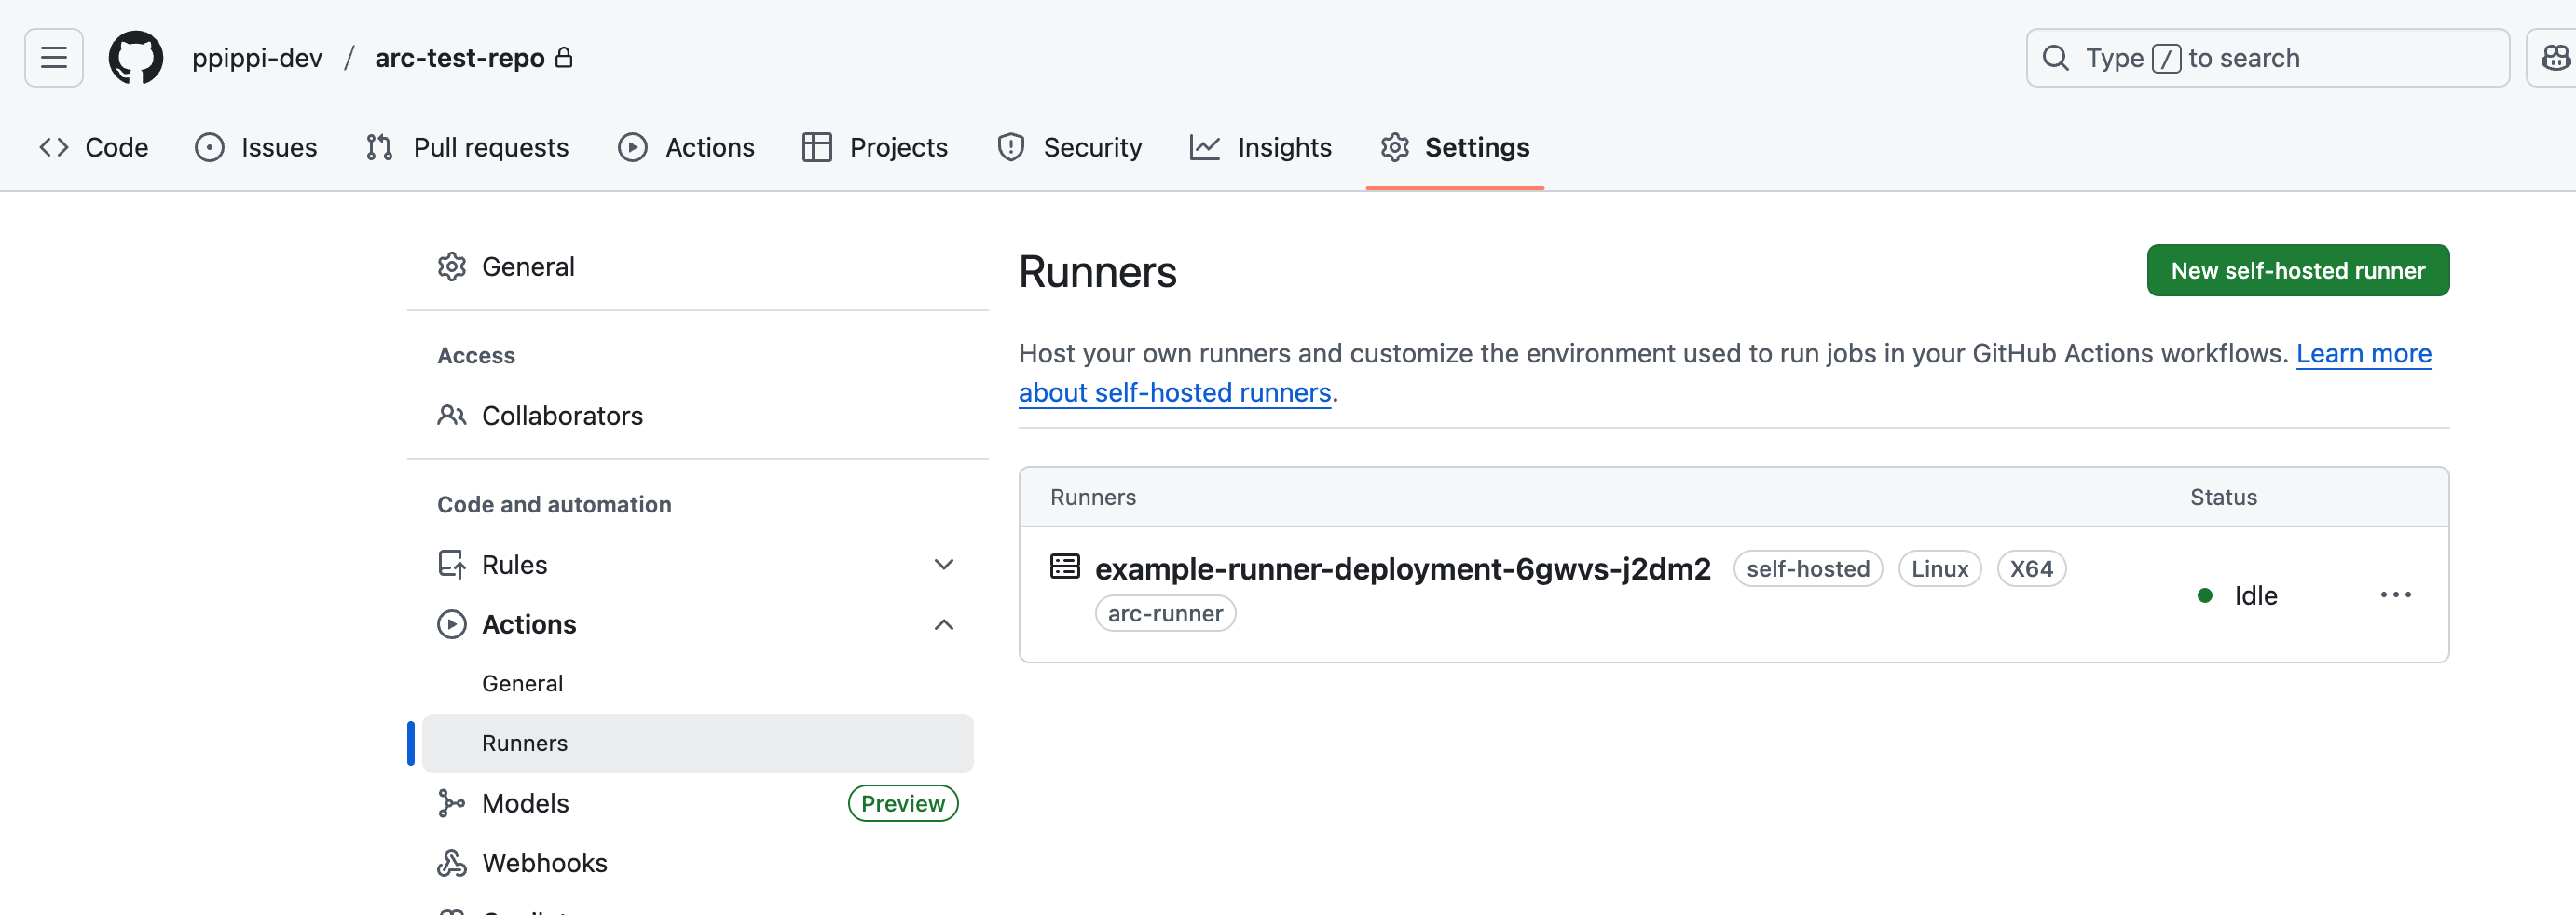
After deployment is complete, you can confirm that a new runner with self-hosted and arc-runner labels is registered in the Settings > Actions > Runners tab of your GitHub repository.
Defining HorizontalRunnerAutoscaler
Next, define an HRA to automatically scale the RunnerDeployment created above. Create an hra.yml file.
apiVersion: actions.summerwind.dev/v1alpha1
kind: HorizontalRunnerAutoscaler
metadata:
  name: example-hra
  namespace: actions-runner-system
spec:
  scaleTargetRef:
    name: example-runner-deployment
  minReplicas: 0
  maxReplicas: 5
By specifying minReplicas and maxReplicas, you can scale up and down according to resources.
Or you can specify additional metrics to create pods whenever there’s a workflow trigger. Various other metrics exist besides this.
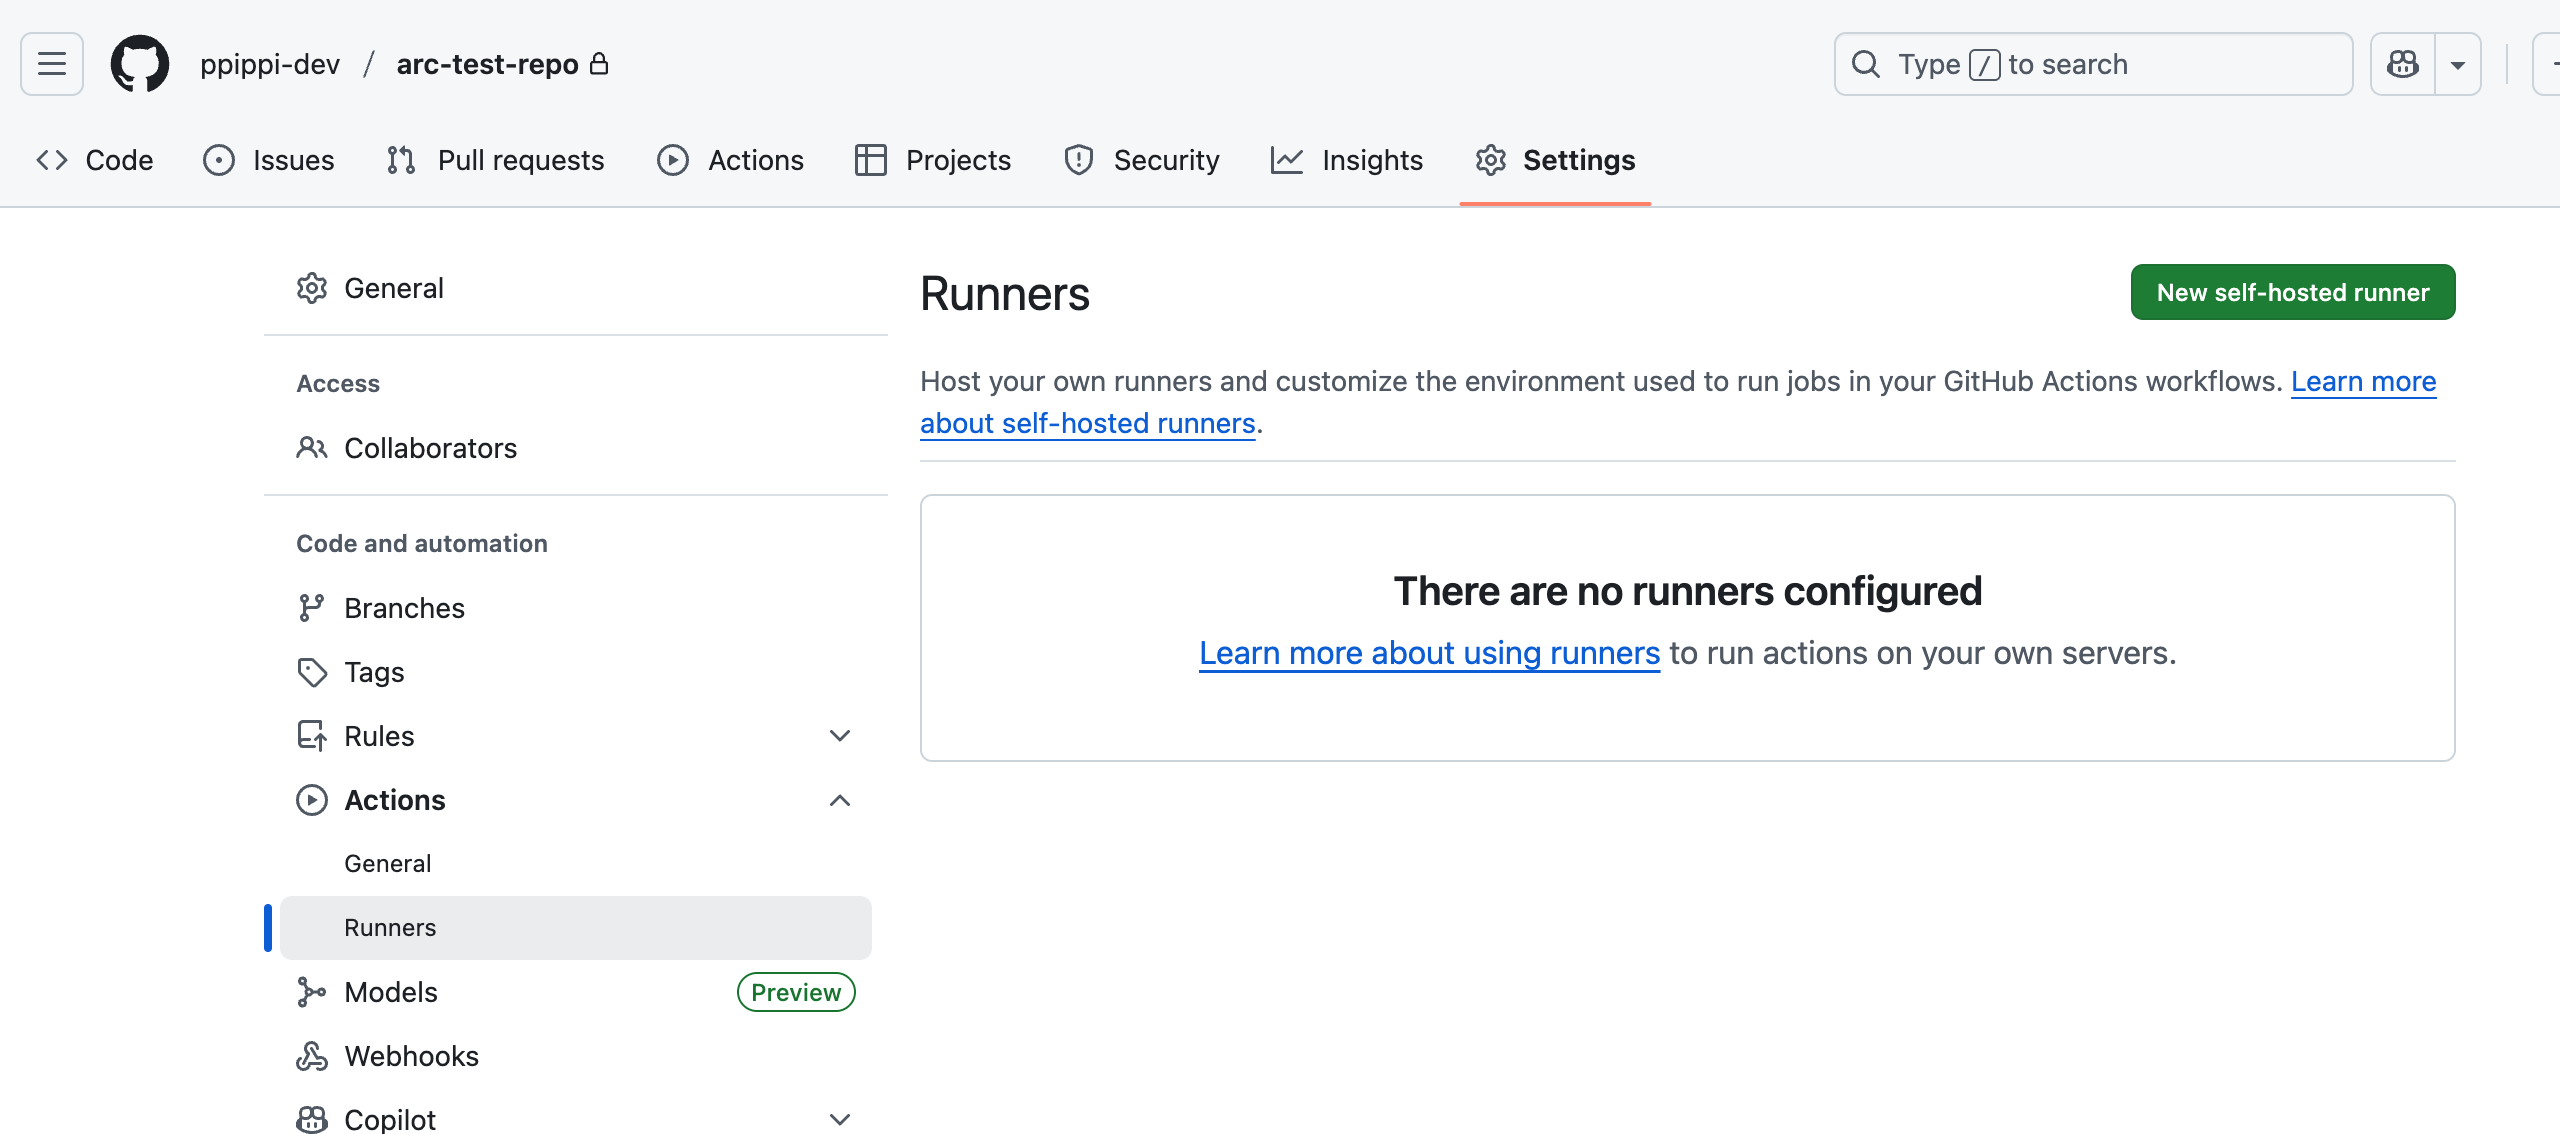
When HorizontalRunnerAutoscaler is configured, runners are created only when needed, so normally (when there are 0 runners) you cannot see runners in the GitHub UI.
apiVersion: actions.summerwind.dev/v1alpha1
kind: HorizontalRunnerAutoscaler
metadata:
  name: example-hra
  namespace: actions-runner-system
spec:
  scaleTargetRef:
    name: example-runner-deployment
  minReplicas: 0
  maxReplicas: 5
  metrics:
  - type: TotalNumberOfQueuedAndInProgressWorkflowRuns
    repositoryNames: ["<YOUR_NAME>/<YOUR_REPO_NAME>"]
This is my most preferred metric, which scales up when workflow execution is needed (when in Queue status). Like this, you can specify metrics according to your needs to achieve good results.
4. Using in GitHub Actions Workflows
Now all settings are complete! Using the newly created ARC runner is very simple. Just put the labels specified in the RunnerDeployment in the runs-on key in your workflow file.
Let’s add a simple test workflow (test-arc.yml) to the .github/workflows/ directory of your repository as shown below.
name: ARC Runner Test

on:
  push:
    branches:
      - main

jobs:
  test-job:
    runs-on: [self-hosted, arc-runner]
    steps:
      - name: Checkout code
        uses: actions/checkout@v3

      - name: Test
        run: |
          echo "Hello from an ARC runner!"
          echo "This runner is running inside a Kubernetes pod."
          sleep 10
The runs-on: [self-hosted, arc-runner] part is key. When this workflow runs, GitHub assigns the job to a runner that has both self-hosted and arc-runner labels. ARC detects this event and, if needed according to HRA settings, creates new runner pods to process the job.
When configured as self-hosted, unlike GitHub’s default runners, you may need to install some packages in the workflow.
Troubleshooting Records
One common problem when using Docker frequently for CI/CD is the DinD (Docker in Docker) issue.
In ARC’s case, by default, a runner scheduling container and a docker daemon container come up together in a sidecar structure.
To solve such cases, there are docker images that support DinD.
Like the following yaml file, by specifying image and dockerdWithinRunnerContainer, the docker daemon runs inside the runner and the workflow executes on that runner.
apiVersion: actions.summerwind.dev/v1alpha1
kind: RunnerDeployment
metadata:
  name: example-runner-deployment
  namespace: actions-runner-system
spec:
  replicas: 1
  template:
    spec:
      repository: <YOUR_NAME>/<YOUR_REPO_NAME>
      labels:
        - self-hosted
        - arc-runner
      image: "summerwind/actions-runner-dind:latest"
      dockerdWithinRunnerContainer: true
Especially for docker tests that require GPU, using the above DinD image on a cluster with NVIDIA Container Toolkit installed allows GPU recognition.
If you configure as shown below in the workflow you want to run, you can confirm that GPU is properly set up even in DinD situations. (NVIDIA Container Toolkit and NVIDIA GPU Driver Plugin version check is necessary!)
# Check GPU devices
ls -la /dev/nvidia*

# device library setup
smi_path=$(find / -name "nvidia-smi" 2>/dev/null | head -n 1)
lib_path=$(find / -name "libnvidia-ml.so" 2>/dev/null | head -n 1)
lib_dir=$(dirname "$lib_path")
export LD_LIBRARY_PATH=$LD_LIBRARY_PATH:$(dirname "$lib_path")
export NVIDIA_VISIBLE_DEVICES=all
export NVIDIA_DRIVER_CAPABILITIES=compute,utility

# Direct GPU device and library mount without nvidia runtime
docker run -it \
  --device=/dev/nvidia0:/dev/nvidia0 \
  --device=/dev/nvidiactl:/dev/nvidiactl \
  --device=/dev/nvidia-uvm:/dev/nvidia-uvm \
  --device=/dev/nvidia-uvm-tools:/dev/nvidia-uvm-tools \
  -v "$lib_dir:$lib_dir:ro" \
  -v "$(dirname $smi_path):$(dirname $smi_path):ro" \
  -e LD_LIBRARY_PATH="$LD_LIBRARY_PATH" \
  -e NVIDIA_VISIBLE_DEVICES="$NVIDIA_VISIBLE_DEVICES" \
  -e NVIDIA_DRIVER_CAPABILITIES="$NVIDIA_DRIVER_CAPABILITIES" \
  pytorch/pytorch:2.6.0-cuda12.4-cudnn9-runtime
Conclusion
We’ve explored how to build Actions Runner Controller in a Kubernetes environment to create a dynamically scalable self-hosted runner environment.
Using ARC can solve both the expensive cost problem when using GitHub-provided runners and the inefficiency when directly managing VMs to operate runners. Especially when building MLOps CI/CD environments that require GPU or have complex dependencies, ARC becomes a very powerful tool.
The initial setup process may feel somewhat complex, but once built, it significantly reduces CI/CD costs and operational burden, so if you’re considering MLOps, I highly recommend considering its adoption.